What do musicians, public speakers, teachers and coffee shop patrons have in common? The desire not only to be heard, but to be understood. This sound clarity we strive for is known as “speech intelligibility.” The term was coined by acoustical engineers and refers to the proportion of sound output that a listener can readily understand.
Speech intelligibility depends on the reverberation time in the space where the sound occurs. This establishes a correlation between the reverberation time of a space and its’ overall sound quality. Skilled architects and savvy business owners design their spaces with this relationship in mind, but there are several ways to measure and improve reverberation time even after construction is complete.
What is reverberation?
When a sound is made, the sound energy reflects off the surrounding surfaces such as ceilings, floors, tables, and even people. Those sound reflections mix to create what is known as reverberation.
Reverberation Time
The reverberation time of a space is defined as the time required for the sound level of a room to decay by 60db after the signal has stopped. For example, if the sound in a room took eight seconds to decay from 120db to 60db, the reverberation time would be eight seconds. For measurement purposes, this can also be written as T60 time.
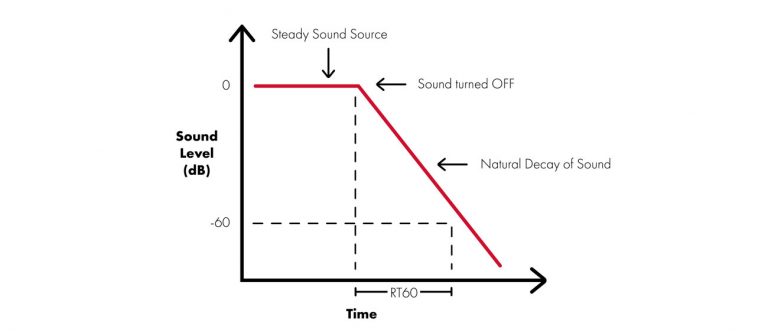
via [http://www.sengpielaudio.com/calculator-RT60.htm]
Why It Matters
The importance of reverberation time can’t be overstated. In a recent study published by the Acoustical Society of America, architecture students at the University at Buffalo found that ease of understanding (i.e. comprehension) drops with an increase in reverberation time.
The academic paper can be read in its entirety here, but if you’re short on time here’s a quick summary. The experiment was conducted in Crosby 125 on the South Campus of the University at Buffalo. Crosby 125 is the typical classroom at any university: 6.6 x 7.2 x 3.6 meters with terrazzo floor, plaster walls and ceilings, and two large windows.
The room originally had a reverberation time of 2.2 seconds, making it a “good candidate for reducing reverberation time with the addition of sound absorption materials.
The students sourced melamine-based foam from a local factory and built sound absorption panels by attaching the foam to hollow core door panels.
The panels were added and removed when necessary. This allowed the students to achieve average reverberation times of 0.79, 0.92, 1.01 and 1.19 seconds.
They played recordings of short statements from Christian Norberg-Schultz’s Intentions in Architecture, and asked test subjects to listen under differing conditions of reverberation and background noise. They were then asked to repeat the statement to the best of their ability and rate their “ease of understanding” from one to ten, with ten being very easy.
The results were clear: ease of understanding dropped as reverberation time increased. And this was with test subjects between the ages of nineteen and twenty-four, all native English speakers with no hearing defects.
What if the text subjects were older? What if they learned English as a second language? I imagine the results would be even more substantial.
Evaluating Reverberation Time
Describing a reverb time as “good” or “bad” is largely dependent on how you plan to use the space. The organist at a cathedral would be happy with a longer reverb time, as it would make their powerful notes even more dramatic. But what pleases the organist would be a teacher’s worst nightmare, as the long reverb time would make comprehension difficult for students.
Coffee shop- A longer reverb time, like three seconds or more, would be bad for a coffee shop. The longer time makes speech more difficult to understand, and this would frustrate patrons who like their caffeine with conversation.
Classroom- A longer reverb time in a classroom would make life difficult for teachers. Having too many reflective surfaces in a classroom would cause the sound waves to linger, which would make it more difficult for students to comprehend what they hear. To limit confusion and avoid low test scores an ideal reverb time would be one second or less.
Multi-Use Auditorium- By now you may have picked up on the trend: shorter reverb times are ideal when speech is most important, longer reverb times favor musical performance. As a result, general purpose auditoriums tend to split the difference, aiming for a reverberation time between 1.5 and 2.5 seconds.
Cathedral- Cathedrals are a great example of purposeful acoustic design. They usually involve large budgets, plenty of construction, and conflicting acoustic priorities. Our Lady of The Angels, a cathedral located in Los Angeles, has a post-treatment reverberation time of 3.75 seconds. This balanced time was not achieved without great effort. The use of glass fiber and heavy Belgian tapestries reduced a twelve second reverb time before treatment to one that works for organ music and sermons.
How do I measure it?
If you’re interested in a bit of longhand math you can use the Sabine formula, named after its creator Wallace Clement Sabine.
- RT60 is the reverberation time (to drop 60 dB)
- V is the volume of the room
- c20 is the speed of sound at 20°C (room temperature)
- Sa is the total absorption in sabins
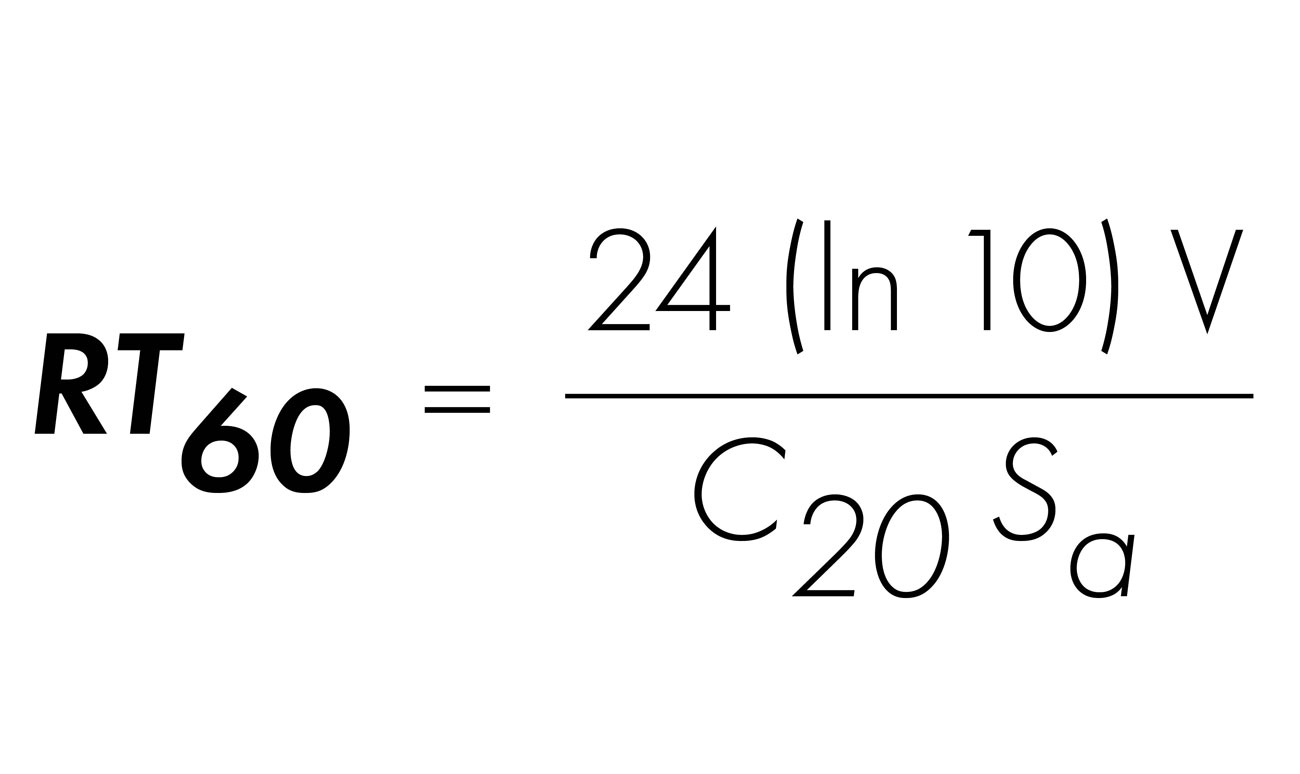
via [https://www.thermaxxjackets.com/sabine-modern-architectural/]
Today there are several computer programs and tools that incorporate the Sabine formula, which is why he’s considered the godfather of architectural acoustics.
If you’d rather let modern technology do the math, follow this four-step process laid out by Cirrus Research:
- Create a stable sound field using a sound source.
- Start a sound measurement instrument, such as a sound level meter.
- Switch off the sound source and allow the sound to decay.
- Wait for the background sound to stabilize and stop the measurement.
Sound Source?
There are several options to choose from when selecting a sound source, and the most effective choice is largely based on the size of your space.
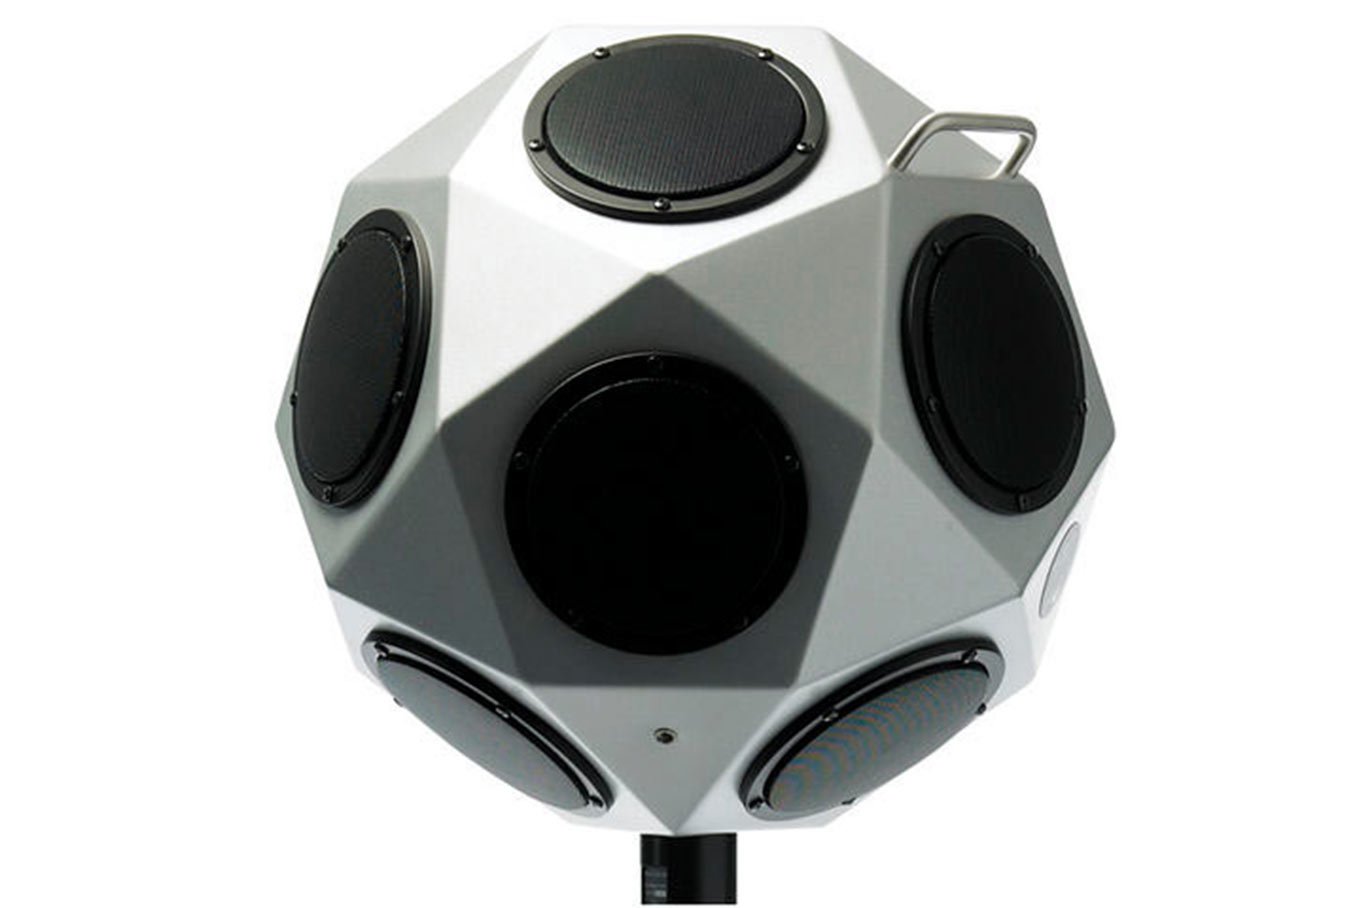
Dodecahedron Speaker
If you want to use what the pros use, this is the option for you. Offering optimized design and a typical sound power level of 121 dB, a Dodecahedron Omnidirectional speaker is suitable for most sound measuring tasks in small to relatively large rooms.
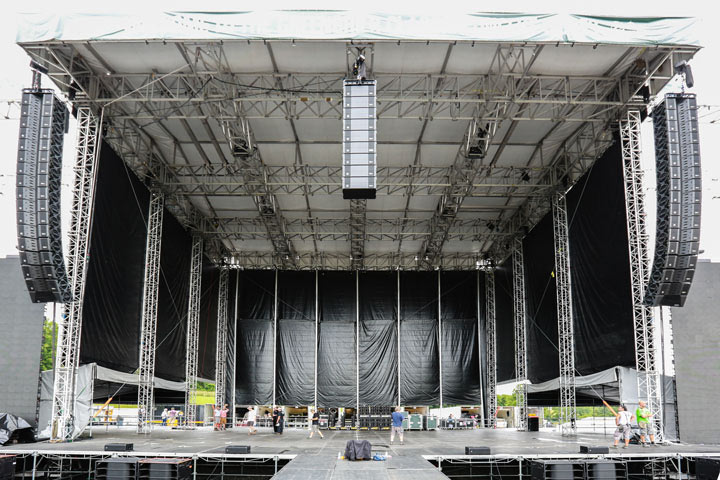
PA system
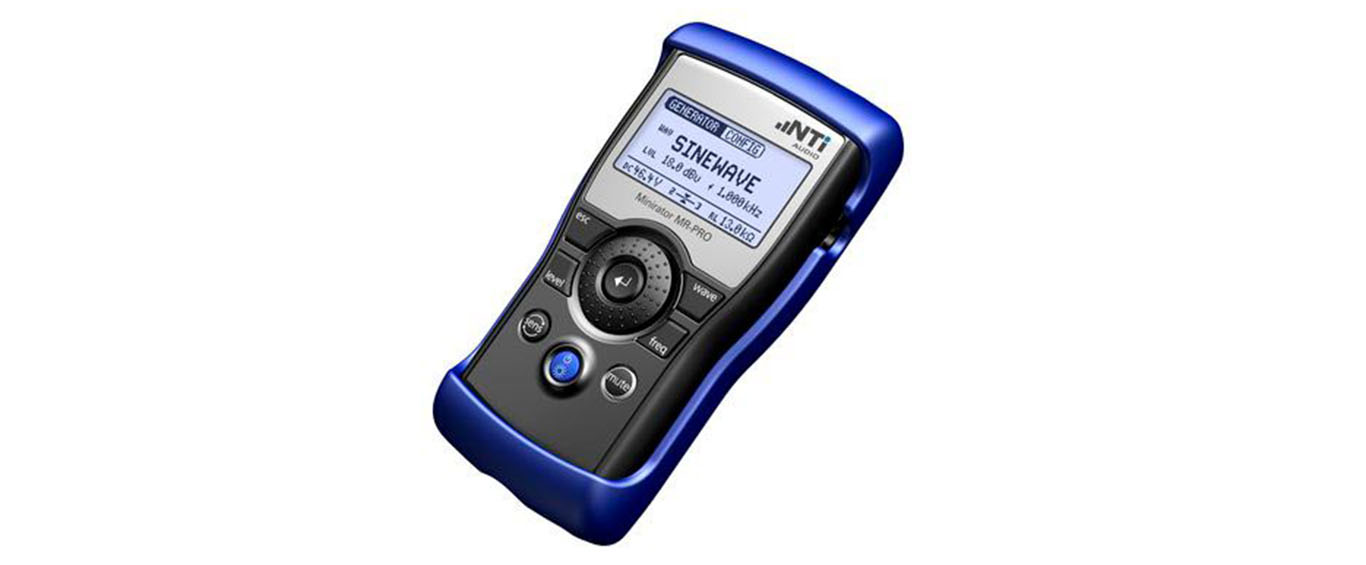
If you’re working with a large space like a concert hall, utilizing an existing PA system may be the best option for usable results. If you have an audio generator (pictured below) that emits pink noise you’ll be able to cover the whole frequency range of measurements.
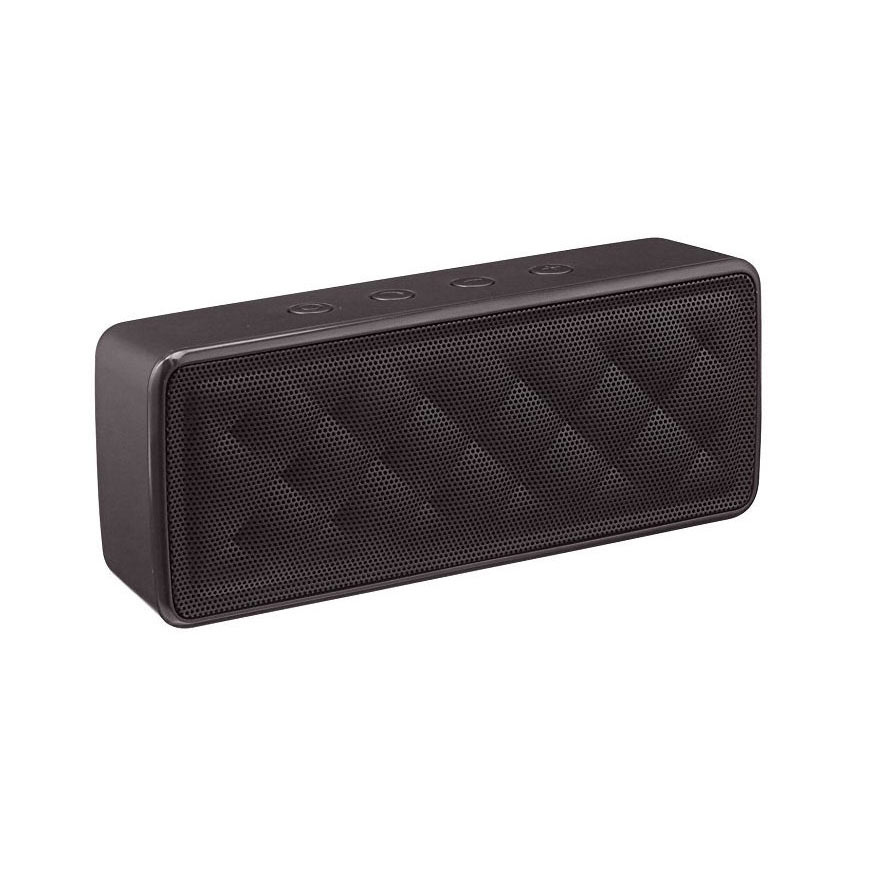
Powered portable loudspeaker
Opting for a portable loudspeaker will afford benefits similar to the dodecahedron speaker at a fraction of the cost. The money you’d save does come with a key disadvantage: A dodecahedron speaker projects equally well in all directions, as opposed to a portable loudspeaker which will typically project in one direction. To ensure optimal results you may need to move the speaker to various parts of the room and perform the measurements multiple times.

Starter pistol
The key advantages of using a starter pistol for acoustic measurement are its omnidirectional capabilities and quick setup. It’s often easy to carry around and can be used to measure larger spaces if a larger caliber is used. However, if you’ll be testing a public space like a school or airport, brandishing a pistol of any kind may be inappropriate.

Pop a balloon
When the balloon is popped in your space the sound will radiate out in every direction, allowing you to measure reverberation time effectively using supplies easily found in a local store. A larger balloon will produce more sound energy, and cover deeper frequencies, allowing you to measure larger rooms. Keep in mind that a larger balloon will take longer to inflate and may require an electric balloon inflator.

Clapper Board
Using a clapper board as your sound source is like the balloon method, with the additional benefit of reusing it at no additional expense. The disadvantages make this method a poor choice if you want to measure the reverberation time of a larger room. The clapperboard doesn’t cover the full frequency range and won’t create enough sound energy for a larger room, so measurement results may be invalid.
Clap your hands
A simple hand clap can give you a quick estimate of the reverberation time in your space. It provides an omnidirectional radiation characteristic like the clapperboard, but also suffers from the same disadvantages. A hand clap won’t cover the full frequency range, and it will be difficult to clap hard enough to trigger the measurement.
How Do I Improve?
In order to provide a high-quality acoustic experience in your space you’ll need to be mindful of the materials used in the room’s construction. Here are a few suggestions to help you get the performance you want.
Long Reverberation Time
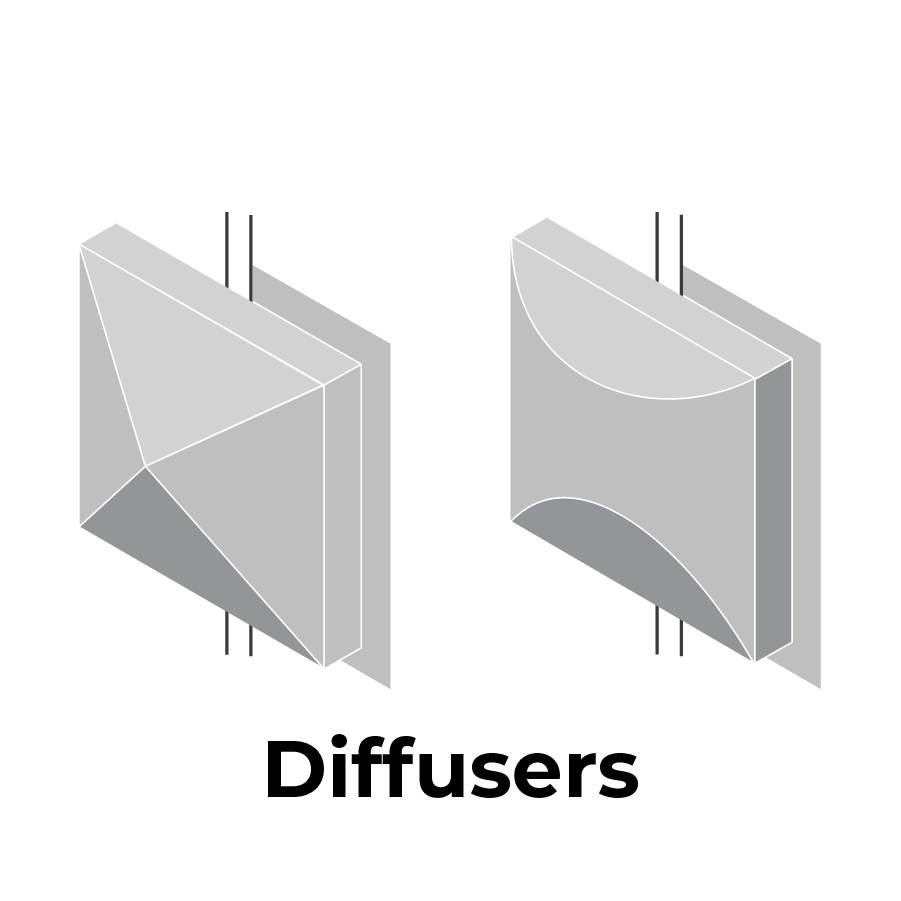
If you want to ensure a longer reverberation time in your space you’ll need to keep the sound in the room for a longer period of time. To do this, the sound needs to be dispersed throughout the room as opposed to being concentrated in a few spots. Incorporating sound diffusing materials in the ceiling and on the walls will accomplish this.
Normal/Average Reverberation Time
Achieving an “average”/normal reverberation time is quite simple if the space is constructed with that goal in mind. You can attain your desired time by incorporating sound absorbing materials in the ceiling of the space.
Short Reverberation Time
Ensuring a short reverberation time can be tricky, as it requires both diffusing and absorbing materials. The diffusion of the sound allows it to be absorbed more easily, improves the effectiveness of the absorbing materials. If you place diffusing materials on the walls, the sound waves can be dispersed and sent towards the ceiling where they’re quickly absorbed.
Ultrashort Reverberation Time
For a reverberation time that’s virtually nonexistent, you’ll need to choose every material with acoustic performance in mind. In addition to the absorbing and diffusing materials, the furnishings of the room must make a purposeful contribution to the room’s acoustic performance. It would be wise to include diffusing materials on the walls, absorbing materials in the ceiling and on the floor, and cover hard surfaces.
Purposeful Acoustic Performance
Whether you’re planning a project or working with a space that’s already in use, there are plenty of ways to affect its’ reverberation time. Each material and surface used has a significant impact on sound waves and the way they travel through a space. This is why you’ll rarely see carpet in a concert hall or hardwood floors in a classroom. Allowing the purpose of a space to inform your acoustic and aesthetic choices will lead to high sound quality and performance.